
This blog post forms part of the Automation Series where I try to automate a “mystery” process. While the initial blog posts will not provide any specific details, they will provide the building blocks used during the development process and technologies I learnt along the way.
 The Mystery icon will differentiate the Automation Series blog posts from the rest. The outcome of this series will be revealed in the final blog post with links to the (hopefully) completed Open Source project that I am currently working on - the actual icon will be revealed along with the Open Source project.
The fourth part of this automation series is going to be looking at Cortex. Cortex, an open source and free software, has been created by TheHive Project to solve a common problem frequently encountered by SOCs, CSIRTs and security researchers in the course of threat intelligence, digital forensics and incident response. Observables, such as IP and email addresses, URLs, domain names, files or hashes, can be analyzed one by one or in bulk mode using a Web interface. Analysts can also automate these operations thanks to the Cortex REST API.
Cortex is the perfect companion for TheHive. TheHive lets you analyze tens or hundreds of observables in a few clicks by leveraging one or several Cortex instances depending on your OPSEC needs and performance requirements. Moreover, TheHive comes with a report template engine that allows you to adjust the output of Cortex analyzers to your taste instead of having to create your own JSON parsers for Cortex output.
Part 1: Installing Cortex
In order to install Cortex, there is great documentation on Github, but I am going to provide the steps that I followed below. If you followed along with the previous post on installing TheHive, then in order to install Cortex using the Debian package, I used the following command:
1
sudo apt-get install cortex
If you did not install TheHive prior to this, then please review the previous post which includes instructions on installing and running ElasticSearch.
Part 2: Running Cortex
As with TheHive, once Cortex has been installed, you will need to modify the application.conf file within the /etc/cortex directory to include a Crypto key. In order to generate a Crypto key, you can use the following command:
1
2
play_crypto_secret="$(cat /dev/urandom | tr -dc 'a-zA-Z0-9' | fold -w 64 | head -n 1)"
echo $play_crypto_secret
Once you have the Crypto key, you simply need to include it at the top of the application.conf file and your basic setup for Cortex is complete. Now that you have the basic requirements – you can start Cortex by pointing it to the configuration file:
1
cortex -Dconfig.file=/etc/cortex/application.conf
Once the application is running, you will be able to access Cortex by navigating to the following URL:http://127.0.0.1:9001. After the initial installation, you will need to update the database and the web application will open the initial login screen where you can create the initial administrator account which you will then use to access the application. This account will serve as the main administrative user, so you should ensure that the password is secure – preferably by making use of a password manager to generate the password. If a user isn’t created at this point, it seems to destroy the database and you will receive an error when attempting to access the host in the future.
In order to make use of Cortex, you need to create a new organisation and associated user accounts which will then be used to access that specific instance. The image below shows that I created a new organisation KyhleTest which I will be making use of for the remainder of this Automation Series.

Once you have created a new organisation, you need to create user accounts which will be able to access the Cortex server. There are several user roles which you can create for this, however for this blog post I created a orgadmin account which includes the read and analyze permissions. During this process you can create a new password for the user, and you can also generate an API key which we will be using to link Cortex to TheHive.
The image below shows the new user that was created with the required roles:

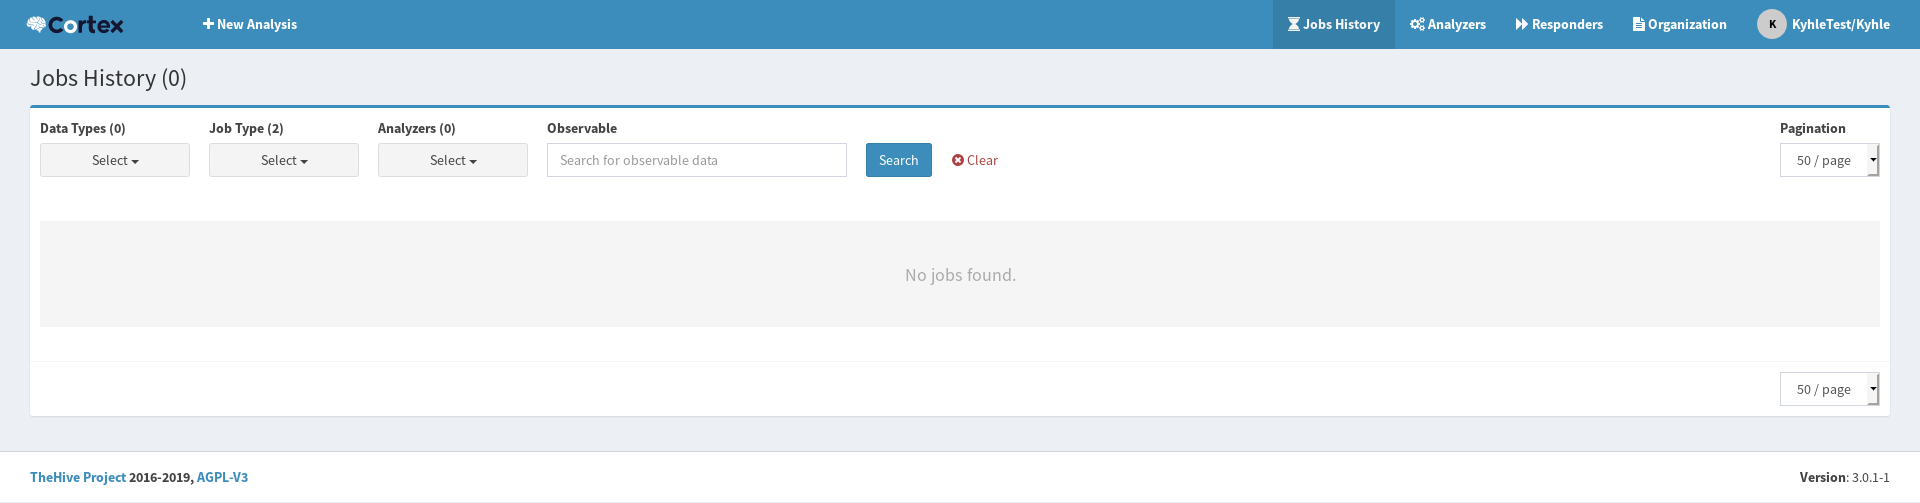
Once you have created the new user accounts, you can log in to your organisation configure the required analyzers. In order for Cortex to be useful, we need to include some Analyzers and Responders, the image below shows the default page that you will be presented with when logging in to the Cortex web interface:
Analyzers and Responders
Analyzers and Responders are autonomous applications managed by, and run through, the Cortex core engine and they have their own Github repository. They are included in the Docker image but must be installed separately if you are using binary, RPM or DEB packages.
Currently there are ± 117 analyzers available within Cortex – This includes free as well as paid for analyzers. The free ones generally require API keys, however it is quite simple to get an API key for most of them, as they likely only require a registered account to access the Analyzer, e.g. VirusTotal. As I made use of the Debian packages, I needed to install the Analyzers and Responders myself. The Github documentation provides the steps which can be used to install the required packages, but I am going to provide the steps that I followed below:
The version of Linux that I was using did not include the Python2 package, so I first needed to install Python and Python-Pip which is required for some of the analyzers.
1
sudo apt update sudo apt install python2
Once Python2 has been installed, I used curl to download the get-pip.py script:
1
curl https://bootstrap.pypa.io/get-pip.py --output get-pip.py
Once the repository is enabled, run the script the as root user with python2 to install pip for Python 2:
1
sudo python2 get-pip.py
Now that Python2 has been installed, we need to install the additional requirements which are needed for the various analyzers and responders. These are included below:
1
2
sudo apt-get install -y --no-install-recommends python-pip python2.7-dev python3-pip python3-dev ssdeep libfuzzy-dev libfuzzy2 libimage-exiftool-perl libmagic1 build-essential git libssl-dev
sudo pip2 install -U pip setuptools && sudo pip3 install -U pip setuptools
Finally, once the prerequisites have been installed, we can get started with the Cortex Analyzers and Responders. We need to include the Github repository, then loop through each directory and install the respective requirements, this can be accomplished through the use of the following commands:
1
2
3
git clone https://github.com/TheHive-Project/Cortex-Analyzers
for I in $(find Cortex-Analyzers -name 'requirements.txt'); do sudo -H pip2 install -r $I; done && \
for I in $(find Cortex-Analyzers -name 'requirements.txt'); do sudo -H pip3 install -r $I || true; done
Linking Cortex to TheHive
Now that we have successfully configured Cortex, we need to link it to our instance of TheHive in order to automatically review potentially malicious URLs and data. This can be accomplished by modifying TheHive’s application.conf file (which I’ve placed in /etc/thehive/application.conf). You need to edit the section labelled Cortex and make the following changes:

Uncomment this line:
1
play.modules.enabled += connectors.cortex.CortexConnector
Modify your Cortex configuration section look include the URL and Cortex user’s API Key for the relevant organisation:
1
2
3
4
5
6
7
8
cortex {
  "CORTEX-SERVER" {
    url = "<YOUR URL:9001"
    key = "<YOUR API KEY>"
  # HTTP client configuration (SSL and proxy)
    ws {}
  }
}
Once you have modified the configuration file, you need to restart TheHive. Depending on how you launched TheHive and Cortex, you either need to Kill the processes and restart the program or restart the service. If you ran the TheHive as a program, you can restart the program using the following commands:
1
2
3
4
cd /opt/theHive
cat RUNNING_PID - take down PID
sudo kill -9 <PID>
rm RUNNING_PID
Once you have killed the previous running process, you can restart TheHive with the following command:
1
theHive -Dconfig.file=/etc/theHive/application.conf
Alternatively, if you are running TheHive as a service, you simply need to do the following:
1
2
sudo service thehive stop
sudo service thehive start
You can also check the status of the service using the following command:
1
sudo service thehive status
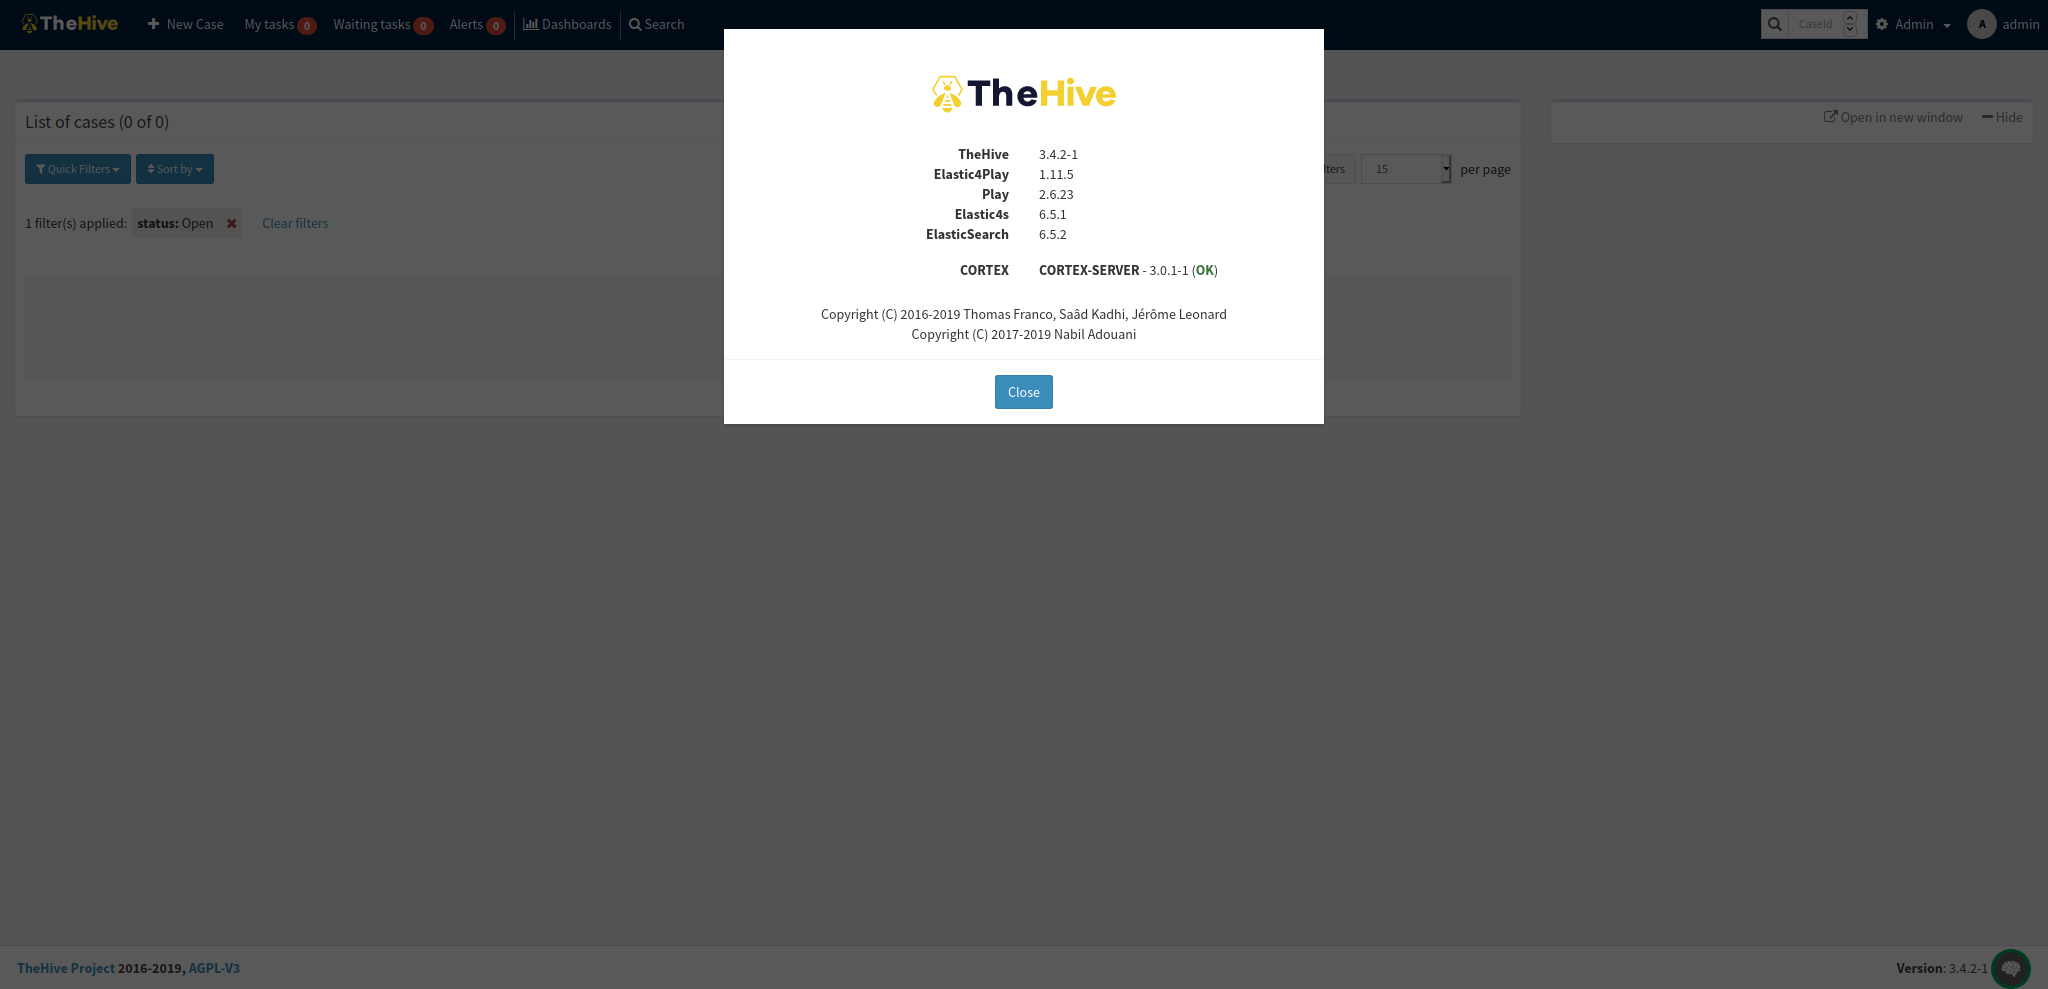
Once the service has been restarted, you should be able to log into TheHive → navigate to the About tab. If everything was set up correctly, you should see that the Cortex server has been linked to your instance as shown below:
I hope all went well and that you successfully managed to link your Cortex instance to TheHive! During the next blog post, we will be covering a list of free analyzers and their intended functionality. Additionally, I will show how the creation of a case using TheHive can be fed into Cortex.