
While creating the Automation Series, I have started looking into various ways to run processes in parallel using commandline. I looked into nohup, screen, etc. but I always ran into issues with automation and Python scripts. After more research I stumbled on to Terminal Multiplexer (Tmux) which lets you switch easily between several programs in one terminal, detach them (they keep running in the background) and reattach them to a different terminal.
This blog post will cover the basics of Tmux, modification of the Tmux configuration file, and ensuring that audit logs are enabled for the various Tmux sessions.
What is Tmux?
Tmux is a terminal multiplexer which lets you open multiple windows and split-views (panes). Each pane contains its own, independently running terminal instance. This allows you to have multiple terminal commands and applications running visually next to each other without the need to open multiple terminal emulator windows. After having looked into nohup and screen, Tmux is a better alternative (in my opinion) since it’s more visual and simpler to use. One of my favourite benefits is that Tmux runs as a process, so if a connection dies then you are able to reconnect to the work you were doing before the interaction was interrupted. However, if you aren’t interested in the process portion and are only interested in the screen split functionality, Terminator may be a more suitable alternative for you. IppSec has a Youtube Video describing his Tmux configuration and he also shows some shortcuts which have come in very useful for me.
Starting Out
In order to install Tmux on Linux, you can simply use apt-get install tmux, from there, you can start enjoying the benefits.
Creating a Tmux Session
Since Tmux launches as a process, it will choose the directory that you are currently in as it’s hosting directory (not super important, but something to keep in mind). When creating a session, I find it useful to give the session a name, the syntax is shown below:
1
tmux new -s tmux_session_name
The default prefix key (ctrl-b) allows you to navigate around Tmux and interact with it. This can be reconfigured to any other prefix, e.g. ctrl-a if you’re used to screen, by editing the configuration file ~/.tmux.conf.
Reattaching to a Session
If you have detached your session, you can view all running Tmux sessions using tmux ls. From there you can decide which session you want to reconnect to and reattach using the following syntax:
1
tmux attach-session -t tmux_session_name
Basic Configuration
Tmux allows you to specify your preferences within the ~/.tmux.conf file. I have included my base configuration below:
1
2
3
4
5
6
7
8
9
10
cat ~/.tmux.conf
# Improve colors
set -g default-terminal 'screen-256color'

# Set scrollback buffer to 100000
set -g history-limit 100000

# Customize the status line
set -g status-fg  green
set -g status-bg  black
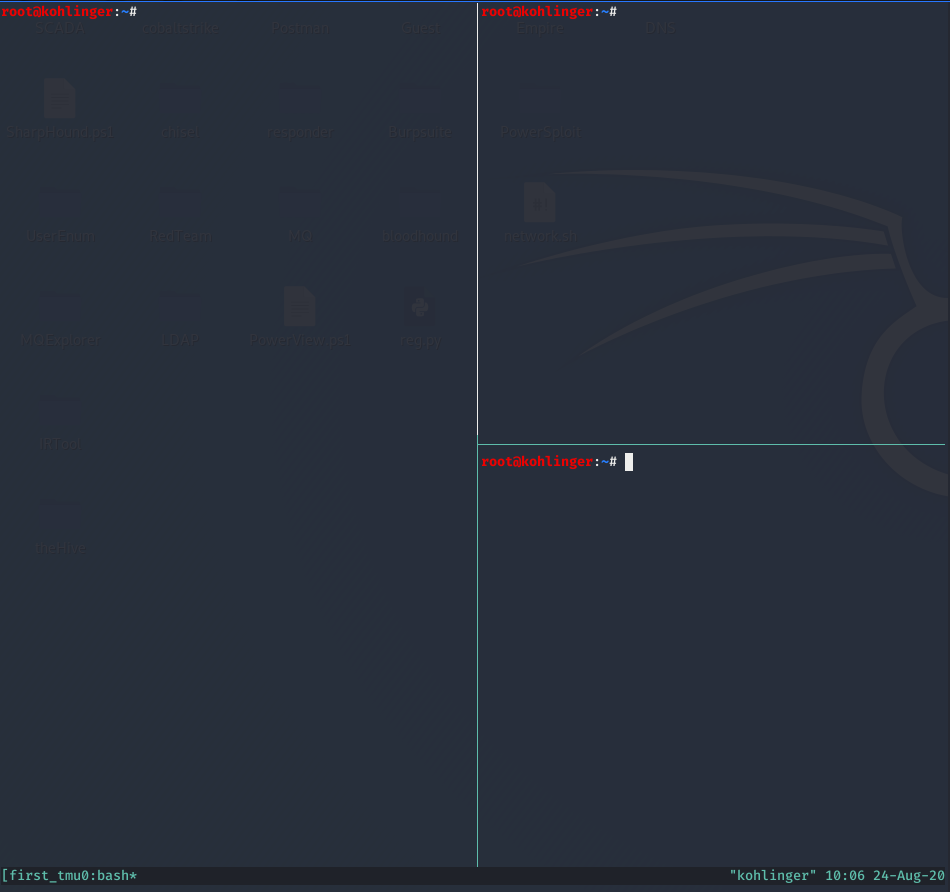
The default scrollback buffer is 2000 which I personally don’t think is enough, so I have changed it in the configuration settings. I also changed the look and feel of the status bar. An example of the split screens using Tmux is shown below:
Shortcuts
There is a ton of functionality built in to Tmux, but the main shortcuts that I use are shown in the table below:
| Shortcut | Description |
|---|---|
| Prefix (Ctrl-b) | Default Prefix which is used when interacting with Tmux. |
| Prefix + d | Detach from the current Tmux session. |
| Prefix + “ | Create a new horizontal pane (Top & Bottom Panes). |
| Prefix + % | Create a new vertical pane (Left & Right Panes). |
| Prefix + arrow keys | Allows you to move around – The active pane has green lines around it |
| Prefix + z | Allows you to zoom into a specific pane (fullscreen) or come out of fullscreen. |
| Prefix + spacebar | Allows you to change layout of the panes. |
| Prefix + ? | This will show all the commands available in Tmux. |
| Prefix + shift + p | Enable Tmux-Logging for your session. |
Creating Audit Logs with Tmux
One of the things that I am most excited about with Tmux is the ability to do audit logging. I know it sounds weird, but sometimes when doing assessments or just general work, you forget to look at some information and kick yourself for it 30 minutes later. With the logging functionality, you are able to review all of the commands that you typed as well as the corresponding output from the Tmux session. Before we look into it, you can also use script in order to create log files, however, you will need to remember to do that at the start of every session:
1
2
script -f <log_name>, e.g
script -f /home/$USER/bin/shell_logs/$(date +"%d-%b-%y_%H-%M-%S")_shell.log
Tmux-logging is a plugin for Tmux which allows you to not only begin a logging session which will capture all output of the current pane, but it also allows you to save a complete history of the current pane if you forgot to enable it from the start. In order to use the plugin, add it to the list of plugins within the configuration file ~/.tmux.conf:
1
set -g @plugin 'tmux-plugins/tmux-logging'
I haven’t managed to get the above command to work reliably, so my personal preference is to use manual cloning:
1
git clone https://github.com/tmux-plugins/tmux-logging ~/clone/path
Once the repository has been cloned, you need to add the following command to the configuration file ~/.tmux.conf:
1
run-shell ~/clone/path/logging.tmux
Once the plugin has been included within the configuration file, you can start logging each relevant session using the shortcut Prefix + shift + p. More information about Tmux logging can be found on their Github page. I hope that this blog post has provided you with some insight into Tmux and Tmux-Logging.